Tag Archives: geometry

“Real-Life” Annulus Problem!

I just can’t type “real-life” without quotes because I’m yet to resolve what “real-life” means in a math class.  But for this post it means – “Math someone needed to do at their job”.  And in this post that someone is my wife – who much to her distain and my joy – does a lot of geometry as a project manager at a construction firm.

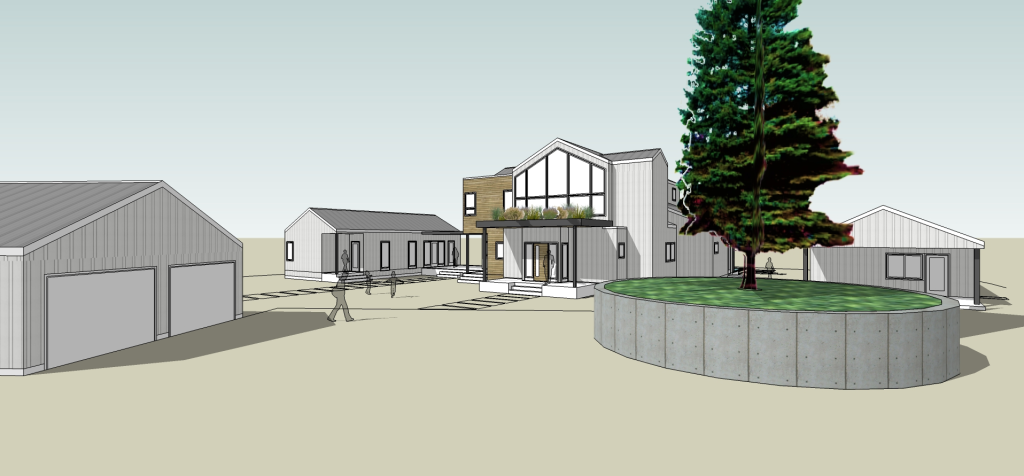
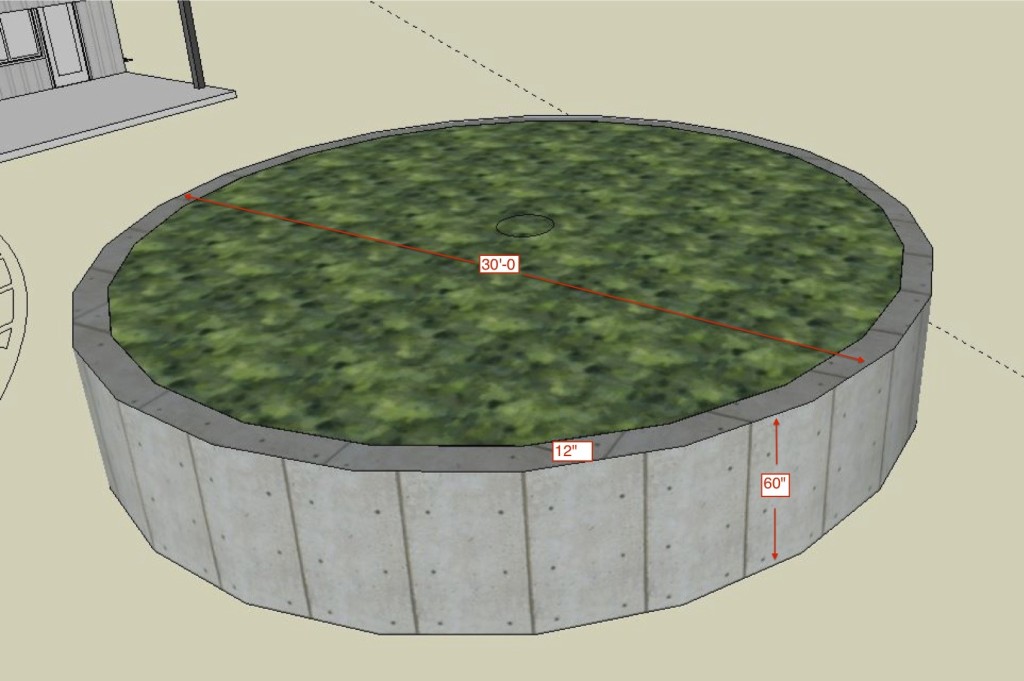
So here’s what we need to know:  How much cement is needed to make that border?  We need the answer in cubic yards because you buy cement in cubic yards.

Concrete

The image below provides some of the context for the problem – The cement border is being used to circle an existing tree.

Freeman_2015-05-15_02

I was actually surprised how open the middle was on this problem.  Yet students used two main strategies.  The first was the standard subtract the areas and multiply by the height, or they subtracted the volumes of both cylinders directly.  The second was the find the perimeter, think of the wall as a rectangle (dimensions of 2*pi*r X 1′), find the area of that rectangle and then multiply by the height.

One student using the second strategy used a radius of 14ft and got a solution of 16.2 cubic yards.  He told me he knew the answer would be a little too small because of only using the inner radius.  Another students used 14.5 and got the same solution as the area subtracting syndicate.

Converting from cubic feet to cubic yards is a great time to practice your perplexed I wonder why you divide by 27? face.

By the way the wall ended up costing around $35000.  I can’t believe how long I would have to work to put a wall around a tree 🙁

Cheers!

– B


Quick, Fun, Artistic Geometry Review

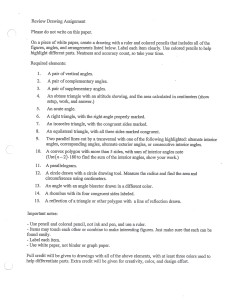
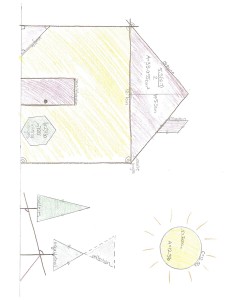
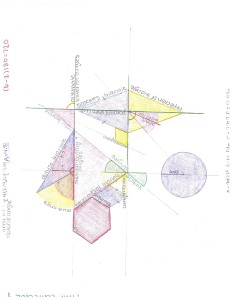
Here you go.  It’s a review of the fundamental vocabulary of geometry.  Basically students need to use all of them to draw a picture.  It is a simple idea and it works very well.  When I described it as “quick” in the title I was alluding to the fact that students are quick to understand what they are suppose to do, and they just go for it.  You don’t have to do much from a teacher standpoint – just get out of the way and see what their creative energies do.   It was made by my department chair – who along with everyone else in my department is an amazing, blogless (is that even a word?) teacher.  I suppose that’s where I come in.

90ReviewDrawingAssignment

SW_Drawing1

SW_Drawing2


The Goods:

Review Drawing Assignment

This Is Always On My Whiteboard…

…  in geometry, for the first month.

photo (1)

because I can do things like this quickly

photo (2)

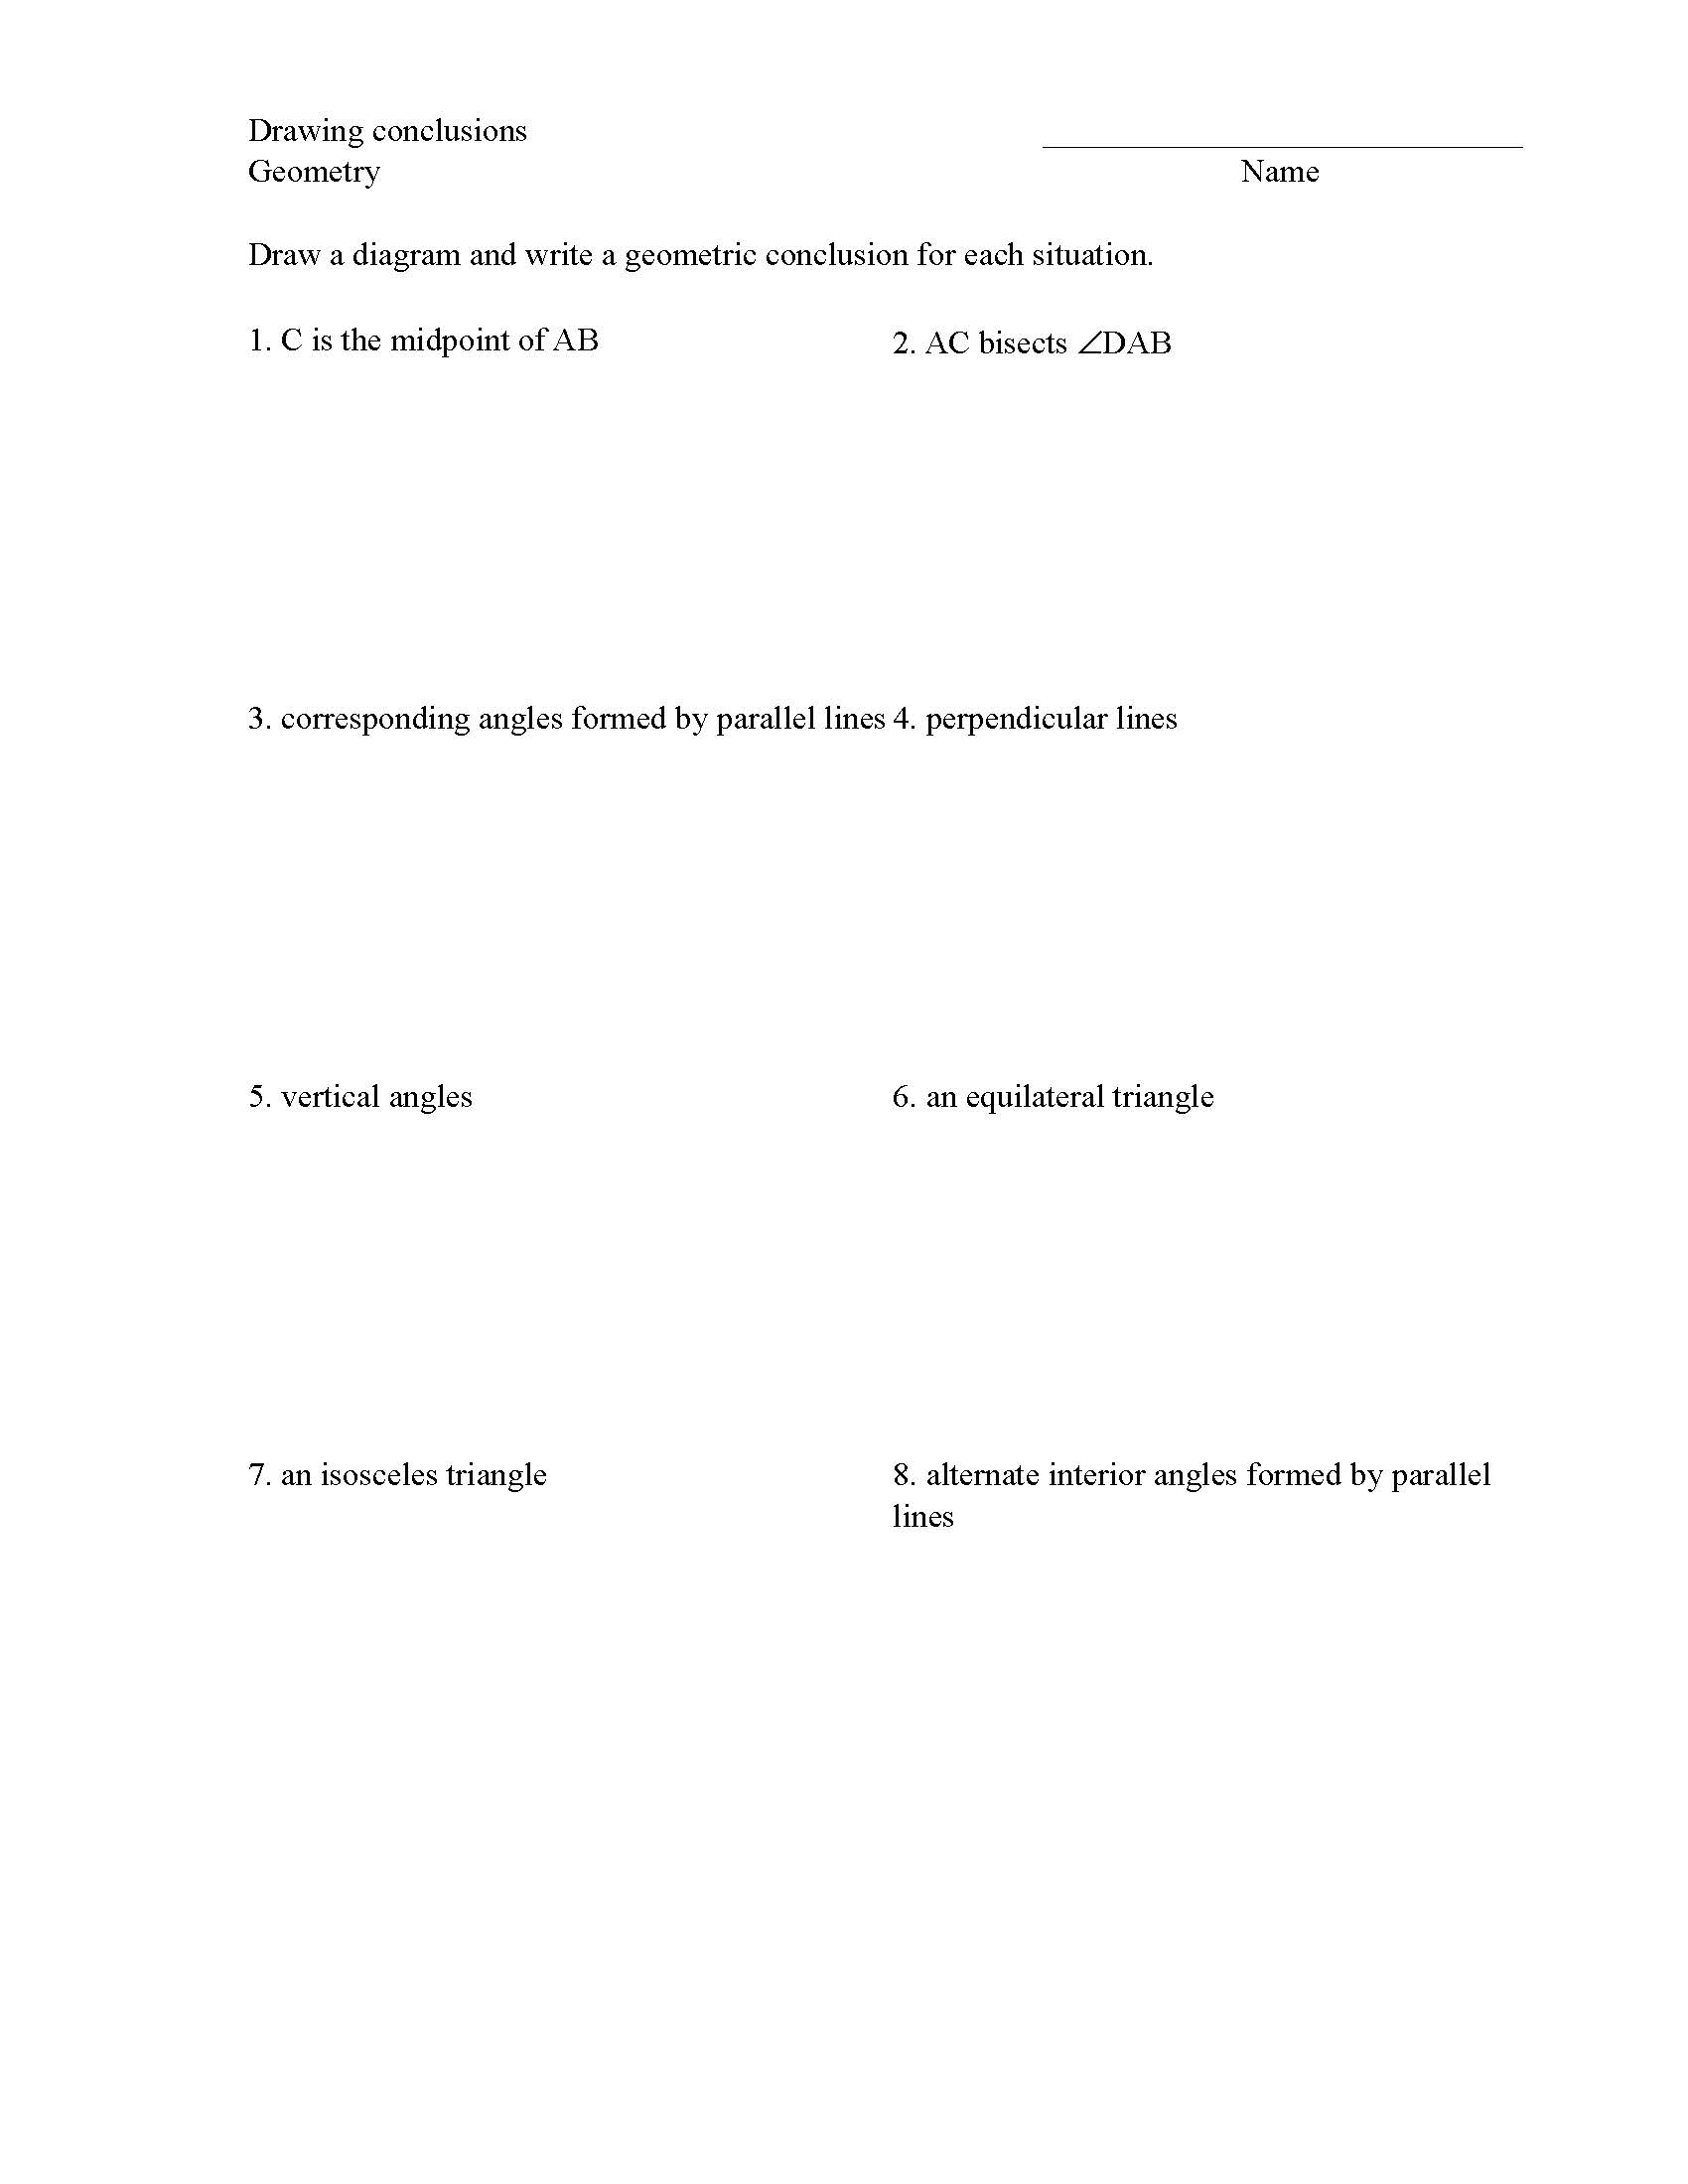
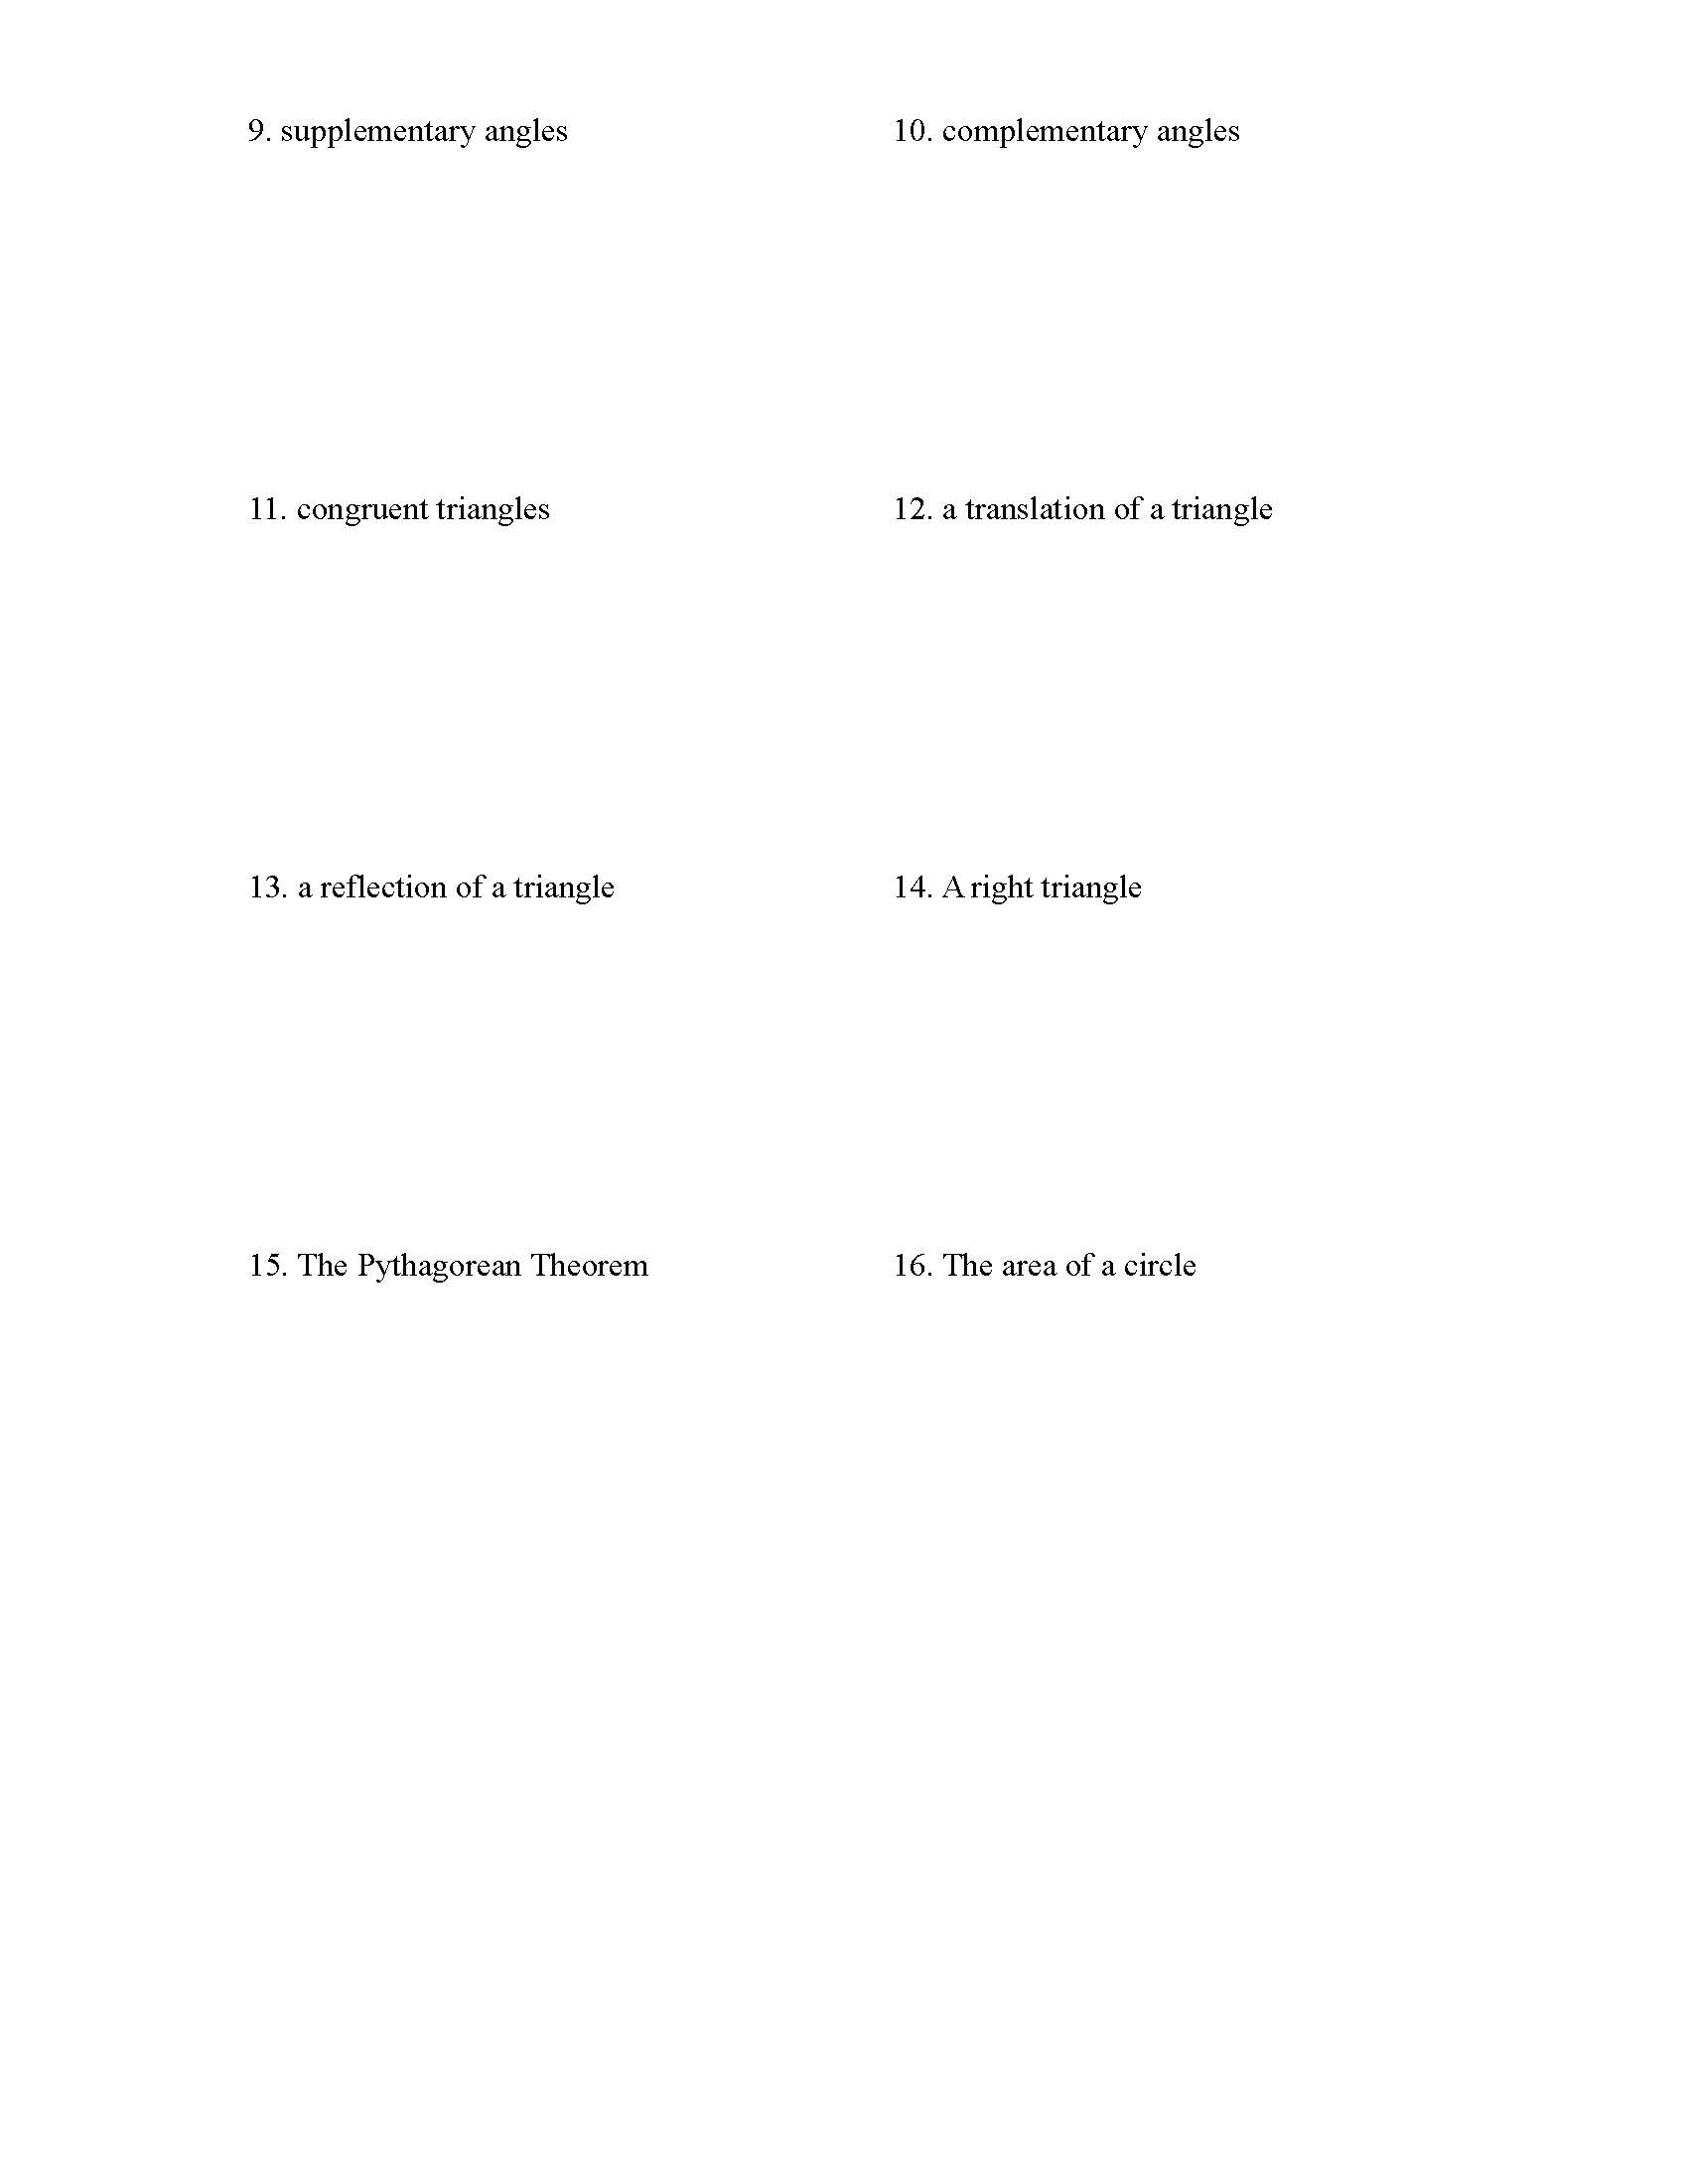
And then students get a tone of mileage out of a worksheet like this (thanks Walt!):

DrawingConclusions_Page_1

DrawingConclusions_Page_2

And it’s not “always” on my whiteboard, but it’s on there a lot  :0

Right at the beginning of geometry I want to focus on helping students draw conclusions from diagrams and given information.  Plus I have done a lot of programming and have a natural love for the IF THEN statement.

IF this THEN what?  So we got a piece of information – what does it do for us?  What does it tell us?  And since the IF THEN is not on my main whiteboard (my main one is the big one on the right of the picture above), I have no problem leaving up my IF THEN all the time.  And probably most importantly – Having it already on the whiteboard reminds me to use it.

“If angles a and b are complementary THEN a + b = 90”  I am reinforcing the point that all we know is that the two angles add up to 90.  We don’t know where the angles are located, we don’t know if they are adjacent, we don’t even know how big they are, or what color they are…  we just know that they add up to 90 degrees.

Here’s the worksheet above as a pdf:

DrawingConclusions

The Centauri Challenge

I’m posting this because my students enjoy it and I can’t find it anywhere online.  I got it from a colleague a few years ago.  I have no idea where it originally came from.  It’s is a great intro to logic and proofs.

CentauriChallenge

CentauriChallenge

So I Guess I’m Making Videos Now

I had to be absent a couple days last week, and I wanted to the class to learn some new material.  We had just spent two days simplifiying radicals, and I wanted them to move onto adding and subtracting.  So I decided to make a quick video of myself explaining how to do it.

[youtube http://www.youtube.com/watch?v=AQ6j4ZrMMBY]

The next day basically every single student I have told me how much they loved the video.  The sub-report talked about how great it was.  A couple teachers and a teachers aid all told me at various times throughout the day that they heard I made some great video.  Then yesterday a student told me that she learns better from my videos than she does from me (thanks…  I think?).   And after multiple students asked if the video was online, I figured I should put it online.

And it’s kind of funny because they are nothing special at all – straight up direct instruction.  But it seems like some students got something out of them, so who I am to judge?  And just like Khan I suppose, I did them in one take so they are not time consuming to create.  I ended up making 1 for geometry, and 2 for algebra.

Oh yeah, and I am certainly not going to post them all to this blog.

It’s OK To Make Worksheets By Hand

A colleague of my reminded me earlier this year that it is ok to hand write your worksheets, rather than typing everything.  I had previously digitally created all my worksheets and thought it rather inconceivable to handwrite any of them.  This adherence to Adobe Illustrator made creating good geometry worksheets particularly time-consuming.  So I got out my protractor and got to work creating some geometry worksheets.  And to my surprise – it was a lot more fun to create them.  Something about the tactile nature of using the projector and pen makes these worksheets more enjoyable to make.  Here one I made when my students were learning how to read geometry diagrams.

IntroGeometryDiagramThis worksheet would have taken a long time to digitally create, and it would not have been very fun to make.  Doing it by hand was fun, easy, and didn’t take much time.

Investigator Training

The Description:

The goal here was to use Dan Meyer’s “Bone Collector” 3Act problem, as the motivation for a series of lessons on scaling.

dollar2foot

The basic premise is as follows:  I show the Bone Collector clip first (see the link above for the clip), tell them we need to figure out the shoe size of the killer because we need to make sure that the killer is not in the room.   Then I concede that I realize they are not trained investigators.  Thus I tell them that over the next couple days we will be doing some investigator training, to get them ready to take on this case.   I help a lot during the first two cases, but I provide little help during the Bone Collector case – and the good news is that they didn’t need much help on it after the investigator training.

CASE 1 “The Drug House”

For their first case, I used a google maps images (see Keynote or PowerPoint file below) of a huge house that I was calling a “known drug” house (It’s actually Michael Jordan’s house).  The goal is for them to calculate the area of the very suspicious large building at the bottom right of the picture, where a lot of cars are located.  I tell them the FBI wants to perform a raid but they do not know how many agents to send, because they don’t know the size of the building.  And they are waiting for our calculations to proceed.

DrugHouseGoogleMaps

I handout the above picture to each student.  Then do a little strategy session where they write down how they are going to calculate the size of the building.  At that point they are given time to solve it with their pair/share partner.

The next day  I come and say that althought the FBI was happy that we correctly calculated the size of the building, unfortunately after performing the raid they learned that this was not a drug house, it was in fact Michael Jordan’s house.  And that big building is a basketball court.

CASE 2 “The Statue Thief”

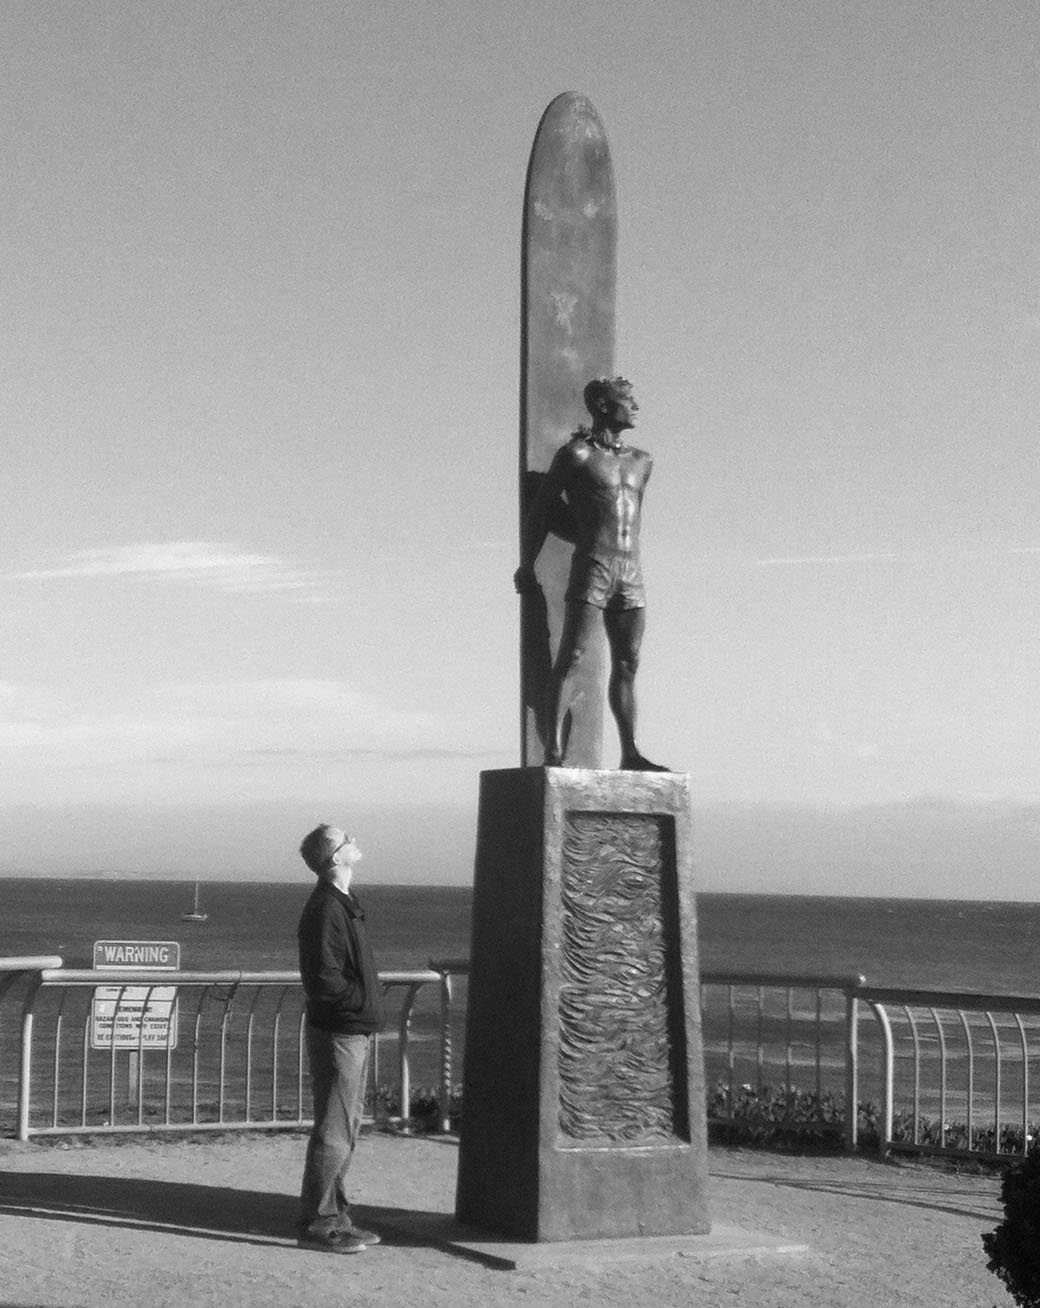
I use a picture of the Surfer Memorial Statue in Santa Cruz.  Then I show a the same picture but with the statue photoshopped out.  I then tell them that a security camera picked up a very suspecious person who had visited the statue multiple times before night of the theft , and that the FBI needs us to find the height of the suspect in the picture.  This case is very similar to the Bone Collector.

StatueThief3_2

(awesome statue)

StatueThief3

(sadly it was stolen)

StatueThiefSuspect1

(but we have a suspect)

Students get a copy of the image above.  We again do a strategy session, where I require them to write a strategy for finding the suspects height.

The next day I reveal that the suspect was captured and he is 6ft.  Most students calculate something around 6″3′, so we spend some time talking about possible sources of error.

CASE #3 The Bootprint

Here we do the actual Bone Collector problem, delievered in much the same way that is described in Dan’s blog.

The Advice:

– I have students work in groups of two.

– I don’t spend the entire class period on these.  I do investigator training for the first 20 minutes or so, and then move on to something else.  Thus I essentially make this investigator training week.

– I help the students with the strategy sessions for the two practice cases, and then leave it up to them for the Bone Collector problem.

– Definitely play up the investigation aspect of these cases.  I tell them how much investigator make and that they should take these cases to the polic department and interview for a job.  If a couple students complain the quality of the bootprint picture is not very good, respond with “Yeah, I’m not sure why the FBI would provide such a low quality image”.

– That is me in the picture for the “Statue Thief” problem.  That is definitely an added bonus if you can do it.  It allows me to completley deny it’s me, while also saying “Look it’s not enough to just tell the police the suspect is extremely good looking, we have to get them information about his height”.

The Results:

High level of engagement.  Take a listen to student reaction when they hear that the shoe print is a size 10.

Bone Collecter student reaction

The students were upset (yes, actually upset) because all their solutions were between size 13.5 and size 16.5 .  They all calculated a larger size because they used the bootprint, rather than the actual size of the foot inside the boot to convert to shoe size.   I ended the lesson with a great back and forth with the students about what happened with their calculations.

One of my lowest performing students asked me if her proportion she setup was correct…  it was.

Using the Bone Collector clip without the associated investigator training works too, but not as well for me.  I really enjoyed these lessons, and I felt like my two initial cases put the students in a place to be successful with the Bone Collector problem.

The Goods:

Dan Meyer – Bone Collector problem

The Drug House Handout

The Statue Thief Handout

Bone Collector Bootprint  (just pick one – my girlfriend and I messed around with the image in photoshop to get the best quality for different printers)

InvestigatorTraining   (Keynote and PowerPoint)  I created this in Keynote, and highly recommend using Keynote.

Update 1:

To see whether or not the students retained any of this, I put the following picture into the chapter test.  The question was:  How tall is the tree?

MrHaysAndTree

The guy in the picture was brave enough to take me on as his student teacher and I am a profoundly better teacher because of it.  His name is Walt Hays.  His height is 6ft.

Update 2: 3/23

Based on Debbie’s comment, I have fixed the typos in the Keynote and Powerpoint files and adjusted the scaling to result in an answer that is consistent with the size of the tennis court next to the basketball court building.



Math Hospital Remix

I decided to remix the Math Hospital.  All the steps are the same that I outline in my original post about the activity, which can be found here.   The only difference is the handout, where I now embed the problem that we are fixing into the worksheet.  This allows students to circle and point to the things that they like, or believe are right or wrong.  I also have them fix the patient (correct the problem) right there on the worksheet.

MathHospital2The Advice

Sell the hospital.  To have them quite down, tell them the patient is sleeping.  If correcting the problem becomes homework, say “I want to have this patient looking healthy by tomorrow”.  And so forth…

I’ve done this in groups of four, but typically it is done individually.

Congruent Triangles Worksheet

The Overview

Here are two worksheets I created for triangle congruency – one of them is focused soley on SSS, the other on SAS.  Both worksheets begin with two problems where all the information necessary is given in the diagram, then they have two problems where the students need to identify a piece of inherent information, and then two problems where they need to intrepret both inherent and given information.  Then the last three problems are a combination of those.

The Method:

I first put the worksheet into Keynote so I can setup my timers and have my board look like their worksheet.  After that, this is my general recipe.

  1. I do the first problem on the board myself.
  2. I put up a 1 – minute timer and have the students work on the second problem.
  3. After that minute is done, I have them share with their pair share partner.
  4. I pull a popsickle stick and call on one group to come to the board and work the problem.
  5. I then repeat this process again – where I do problem 3, they do 4.  I do 5, they do 6.  Then I have them finish the worksheet on their own.

The Goods:

SSS

SAS

Dig a Hole to China

The Description:

Show them this website and ask them if they can figure out what it is all about:

This site shows the exact opposite side of the earth from anywhere on earth.  So if you dug a hole straight down through the center of the earth, this site shows you were you would end up.  Every student in my class had heard the old saying about “dig a hole to China”, where it is believed that if you dug a hole straight through the earth, you would end up in China.  Apparently it’s not true, you would end up in the middle of the Atlantic.  Students will definitely ask you to find where you would need to start digging if you wanted to end up in China (Argentina).

That is about all you need to pose the question “If you were to dig a hole to China, how deep would the hole be?”

I give the students the circumference of the earth.   This lesson is teaching them to find the radius from the circumference.

C = 2(pi)r

The Advice:

At the end of class come back to the fact that if you give them radius, they would be able to give you diameter and circumference.  If you give them circumference, they should be able to give you radius and diameter.

The Goods:

I do not give any handouts.